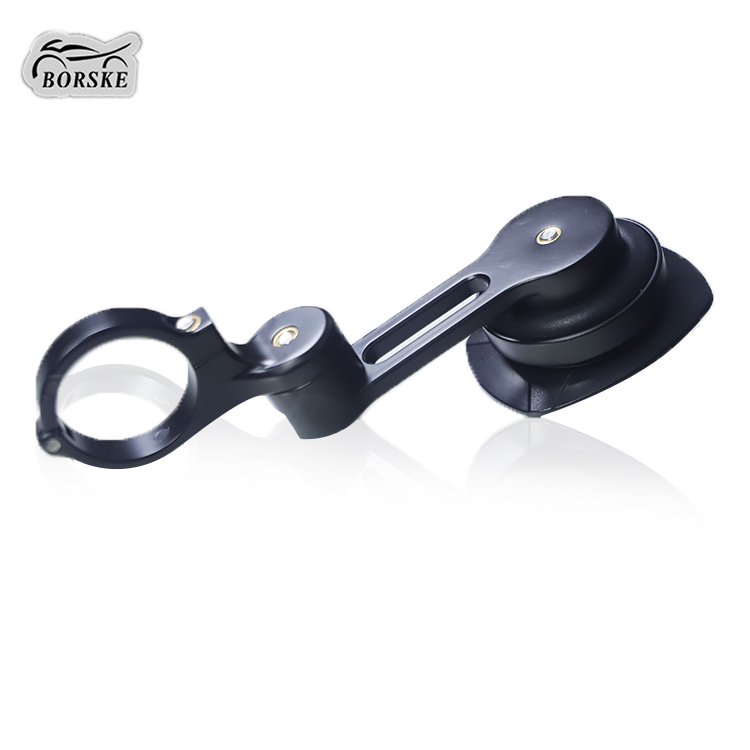
Here are steps to Install a Vespa Footrest
1.Check the Compatibility:
Ensure the footrest is designed for your specific Vespa model.
Review the installation manual or instructions provided with the footrest.
2.Prepare the Scooter:
Park the Vespa on a flat, stable surface.
Use the center stand to keep it upright and secure.
3.Locate the Mounting Points:
Most c ustomVespa footrests attach to the floorboard or pre-existing bolts near the rear passenger area.
Refer to the instruction manual for specific locations.
4.Clean the Area:
Clean the mounting points on your Vespa with a mild cleaning solution and cloth to ensure a secure fit.
5.Install the Brackets:
If the footrest comes with mounting brackets, position them on the designated areas.
Align the brackets with the pre-drilled holes or screws on the scooter.
6.Attach the Footrest:
Position the footrest onto the brackets.
Use the screws or bolts provided in the package to secure it. Tighten them evenly using a screwdriver or wrench.
7.Check Alignment and Tightness:
Make sure the footrest is aligned properly and does not obstruct the rider’s or passenger’s movement.
Ensure all screws and bolts are tightly fastened.
8.Test for Stability:
Press down on the footrest gently to ensure it is secure.
Take a short ride to confirm that it remains in place and provides the intended support.


